Sunday, June 15th 2025

Having trouble getting stable analog readings from a noisy component? There's several ways to resolve this. Either through additional hardware (capacitor) or through software. Recently, I had such case. Thought I would share a quick-tip on how to solved this through software. The solution is pretty easy. Just take multiple readings and average them before returning the result. Take a look at the sample code below. I hope this helps resolve your noise!
 // average 4 readings for stable reading
value = (analogRead(curPin) + analogRead(curPin) + analogRead(curPin) + analogRead(curPin)) / 4;
Categories: Arduino, Quick Tips
Tags: electronics, programming
Wednesday, November 1st 2023

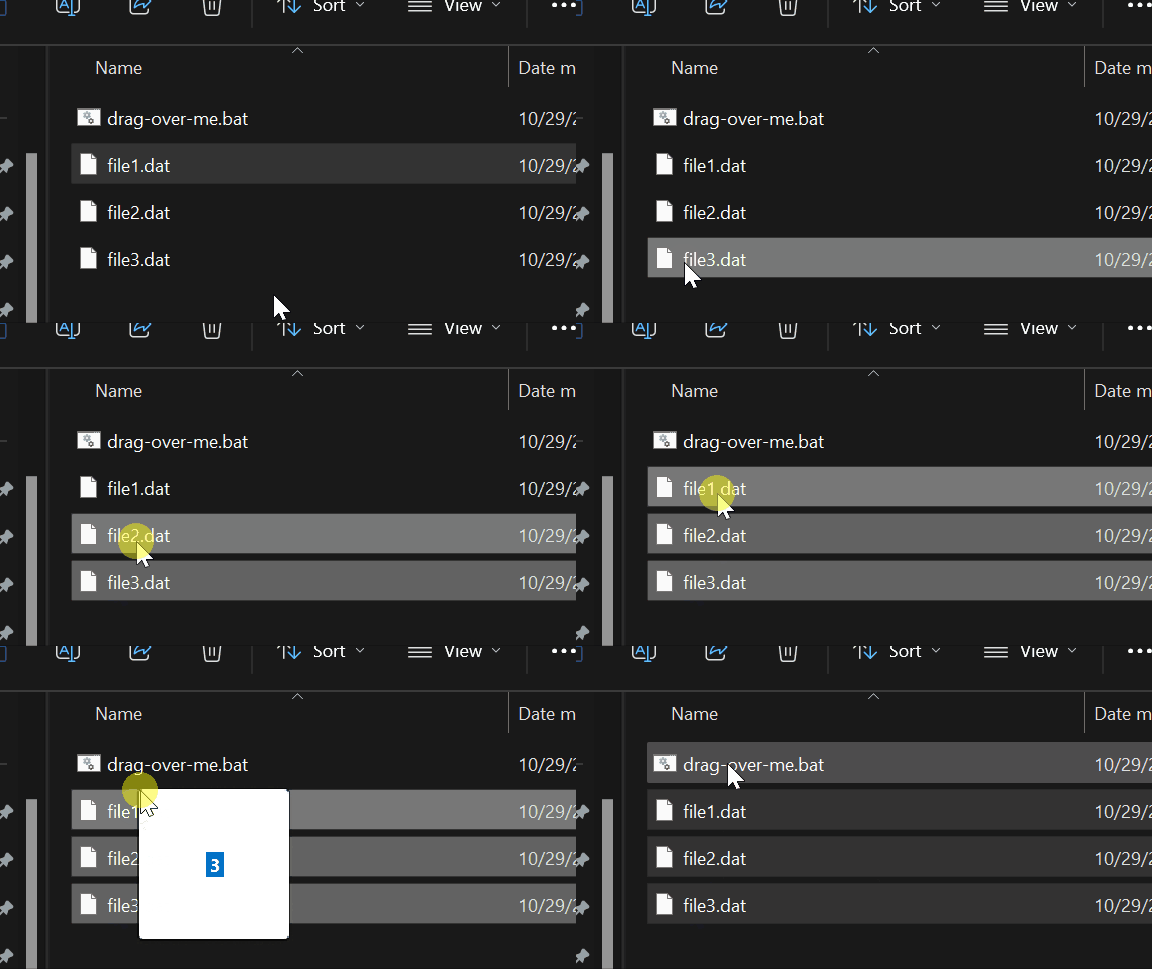
Got another quick tip for ya! Have you ever needed to run the same batch operation on a several files without running it multiple times? I found myself in that situation this week actually. I thought I would share my solution to a common problem. It's easier than you think. You can actually drag and drop a selection of files onto a batch file. Without some code changes this won't run the batch file for each selected file on it's own. But it will pass each selected file name to the batch file as an arguments. Let me illustrate this neat feature.
Say you have a batch file named run.bat. and three data files named: file1.dat file2.dat, and file3.dat. When you click run.bat without dragging, Windows runs the command "run.bat". When you select and drag those three files over run.bat, Windows will pass the file names off as arguments to run.bat. The command ends up being "run.bat file1.dat file2.dat file3.dat". Pretty neat huh? It's a lot faster than typing all that out in shell. But how can we reference those file names in our batch file? Well we can loop or iterate over those arguments and perform the same task on each file.
In the example below, I needed to change the extension on a bunch of files. Sure I could manually rename them or use a wildcard, but what would be the fun in that? So I wrote this batch file to rename each file that gets passed to it as an argument. Now note, when I researched this. I found several different ways to iterate over batch arguments. This one made the most sense to me. If you would like to see some of the others, check out this great Stack Overflow Question for reference. Also feel free to use my example at your own risk. We're not responsible for damages. Till next time, happy batch'n.
:loop
set "file=%1"
move %1 %file:~0,-3%txt
shift
if not "%~1"=="" goto loop
pause
Categories: Quick Tips
Tags: batch
Monday, September 18th 2023

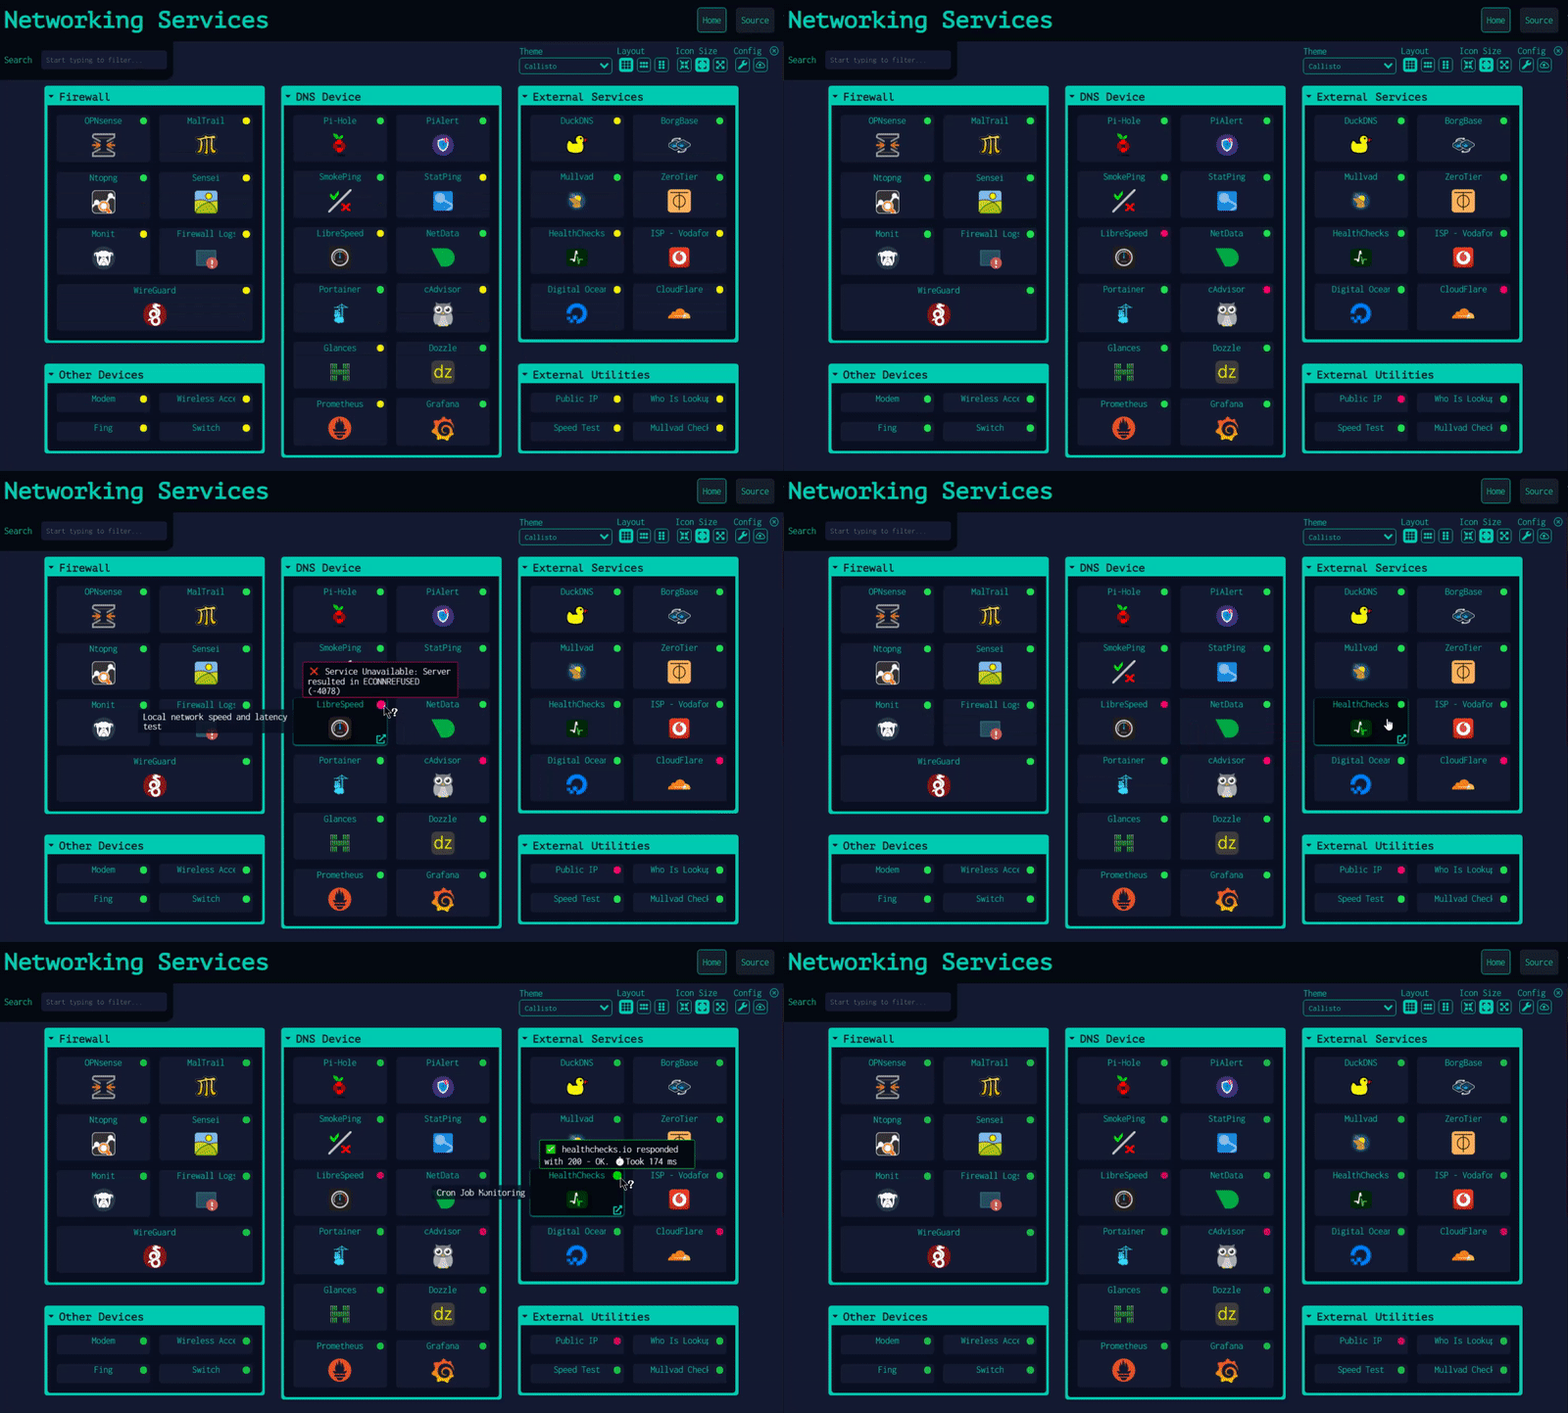
Dashy is a wonderful app for keeping up with all the goodness on your home lab. You can use it to keep track of all your web services and interfaces. It will even ping your services for you and let you know their status. However, it may not be the easiest thing to get going. So I thought I would share how I deployed Dashy in my home lab environment. I like to use Portainer to manage my docker images and containers. With these easy to follow steps you can have Dashy running using Portainer in no time flat.
Step 1: Grab Dashy Docker Compose
Copy The Following
---
version: "3.8"
services:
  dashy:
    # To build from source, replace 'image: lissy93/dashy' with 'build: .'
    # build: .
    image: lissy93/dashy
    container_name: Dashy
    # Pass in your config file below, by specifying the path on your host machine
    # volumes:
      # - /root/my-config.yml:/app/public/conf.yml
    ports:
      - 4000:80
    # Set any environmental variables
    environment:
      - NODE_ENV=production
    # Specify your user ID and group ID. You can find this by running `id -u` and `id -g`
    #  - UID=1000
    #  - GID=1000
    # Specify restart policy
    restart: unless-stopped
    # Configure healthchecks
    healthcheck:
      test: ['CMD', 'node', '/app/services/healthcheck']
      interval: 1m30s
      timeout: 10s
      retries: 3
      start_period: 40s
Step 2: Creating New Stack
- Navigate to Stacks
- Click the "Add Stack" button (upper right corner)
- Give your Stack a name. I called mine "Dashy"
- Paste the compose from above into the Web Editor
- Modify port configuration if needed. Defaults to port 4000
- Scroll down and click "Deploy Stack"
Dashy will finish the rest. After that you should be able to access it on Port 4000 on the same server as your Portainer instance or whatever port you've configured. That was easy wasn't it? As always, use this at your own risk, we are not responsible for damages. Enjoy and stay safe!
Reference:
Dashy Deployment Guide
Categories: Quick Tips
Tags: development, apps, docker, portainer
Wednesday, February 3rd 2021

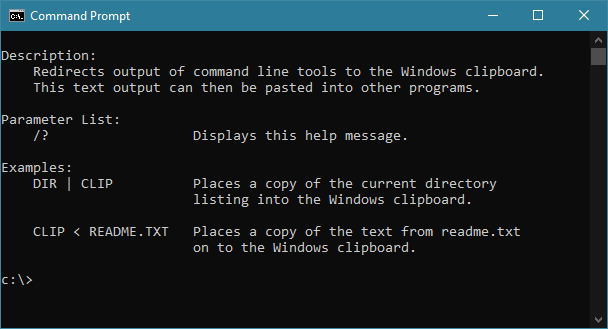
I came across this neat tip the other day. I needed to capture some text from the command line in Windows. Usually I would just pipe (cmd > filename.txt) the results of whatever command I'm running into a text file. Then I would open the text file afterwards and copy/paste it wherever I needed it. I figured there had to be a more direct way. It turns out, I was correct. Enter "clip.exe" a built in utility that will allow you to pipe command line output directly to your clipboard. So how do you use it? It's really simple. Say for example you need a list of files in a directory. You could run the following and presto it's in your clipboard. Replace dir with whatever command line application you want to capture input from. Run it and copy/paste to your heart's content.
dir | clip
Apparently this has been around in some form or fashion since WIndows 98. It became a regular built in utility in Windows Vista. Not sure why I'm just now finding this out. There are similar tools (xclip) in linux as well. Happy scripting!
Categories: Quick Tips
Tags: command-line
Tuesday, February 23rd 2016

Ever received tracking information for a package and didn't know who the shipping carrier was? What if you know the carrier, but you can't seem to find how to track packages on their website? Well today's Quick-Tip can help you with a simple solution for both.
The solution is "Google-It." That's right. Simply enter the tracking information into the search bar on
Google. Google will read the string and chances are it will recognize the carrier. If Google senses that the string is a valid tracking number, it will give you a direct link to track your packages in the search results. If you use the Chrome browser you can even just type it in the address/search bar at the top. How easy is that? Stay tuned for more Quick-Tips. See ya!
Categories: Quick Tips
Tags: tricks, web, tips


