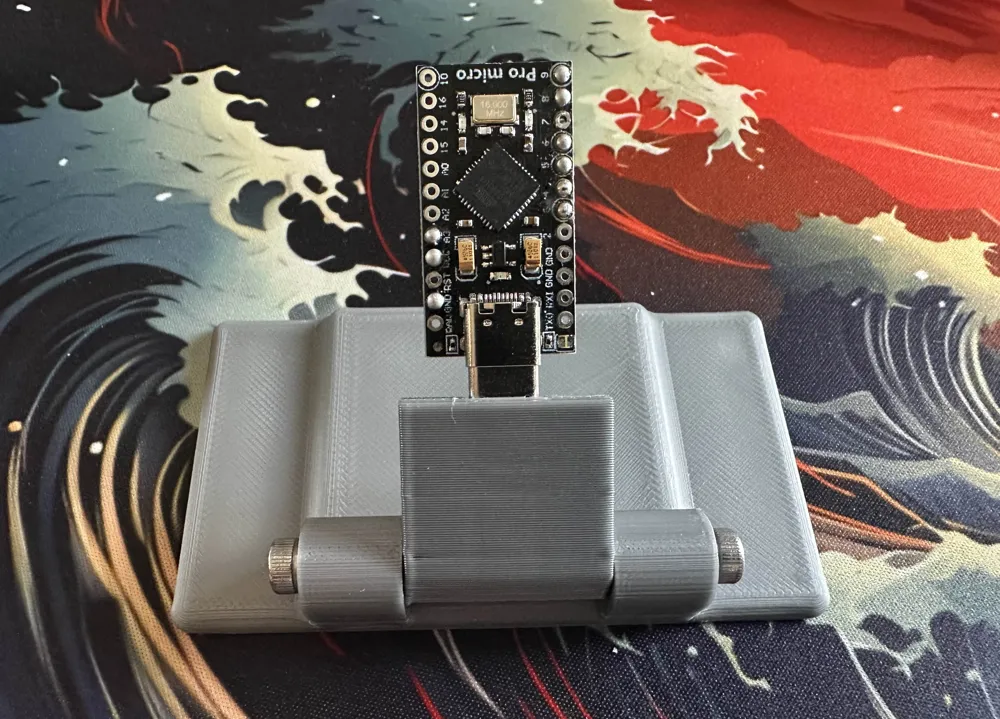
Have you ever struggled with holding development boards while trying to soldering wires to them? I created a simple fixture that helps solve this problem. Plug in your USB C development board into the fixture you're working on and let the tool do the holding. The side ears allow for clamping the fixture to a work table or surface. Note this model does require additional hardware (see bill of materials) and assembly. Once assembled, the connector will need to be glued in with CA glue. You can find my creation over at: Maker World. Enjoy!
Having trouble getting stable analog readings from a noisy component? There's several ways to resolve this. Either through additional hardware (capacitor) or through software. Recently, I had such case. Thought I would share a quick-tip on how to solved this through software. The solution is pretty easy. Just take multiple readings and average them before returning the result. Take a look at the sample code below. I hope this helps resolve your noise!
 // average 4 readings for stable reading
value = (analogRead(curPin) + analogRead(curPin) + analogRead(curPin) + analogRead(curPin)) / 4;
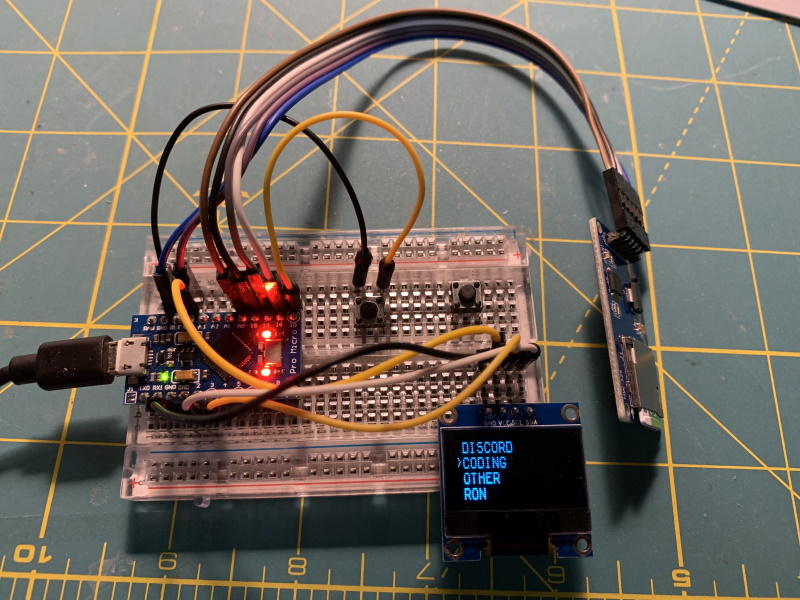
Making more progress on my on-going marco keyboard project. I'm building a programmable macro pad. My overall goal is to be able to load configs from an SD card. Then give the user a way of selecting a config file from a menu on a OLED display. Well we're almost there. This weekend I wrote some code to allow the user to browse the root of an SD card. When the device is booted up, it will scan the directory of the root and load the filenames into an array. The user can cycle through the list to find the file they want to use. When they reach the bottom the list repeats. For a bonus I loaded the keyboard library and when you press a button the contents of the selected file is written out to the keyboard buffer. Even large files seem to work. This is due to the buffering nature of the file IO class. Feel free to download my code from GitHub!
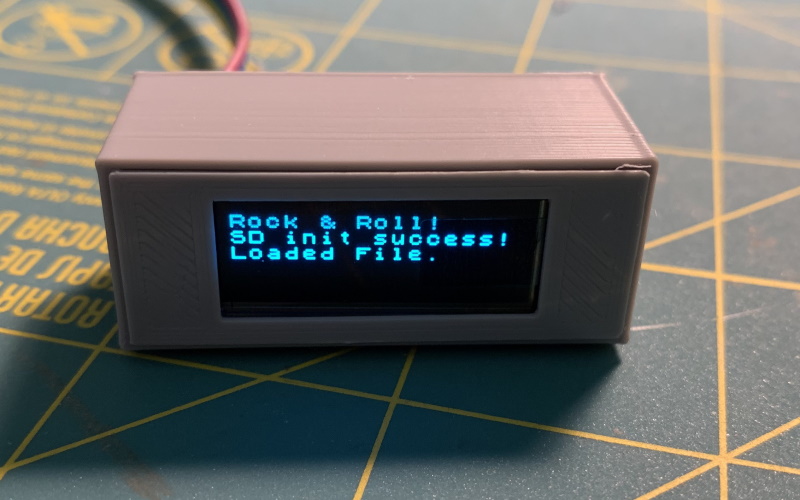
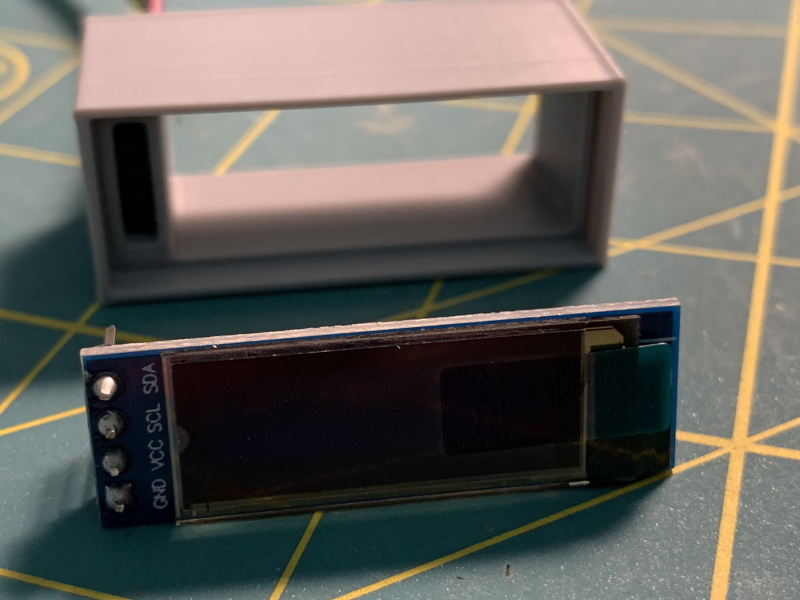
I've been working on a larger project. Which I hope to post on here in the coming weeks. I find that sometimes it best to break projects into smaller pieces. Little milestones make bigger projects flow a lot better. The enclosure for my new project requires a holder for OLED display. I've never modeled anything like this before. So I decided to do a small project out of modeling a holder for it. Here we are now. I present to you my holder for a 128 x 32 OLED display.
I used TinkerCAD to create this model. It's a fairly simple concept with a hidden feature. More about that in a minute. The model consists of two prints, the holder body and bezel. The OLED display I'm using is a 128 x 32 sized display. It uses a I2C connection which requires four pins. Here's where the hidden feature comes in. I wanted to keep the holder a modular as possible. In the sense that the display could be easily pulled out and reused if needed. In order to that I had to come up with a design that kept the OLED display as stock as possible.
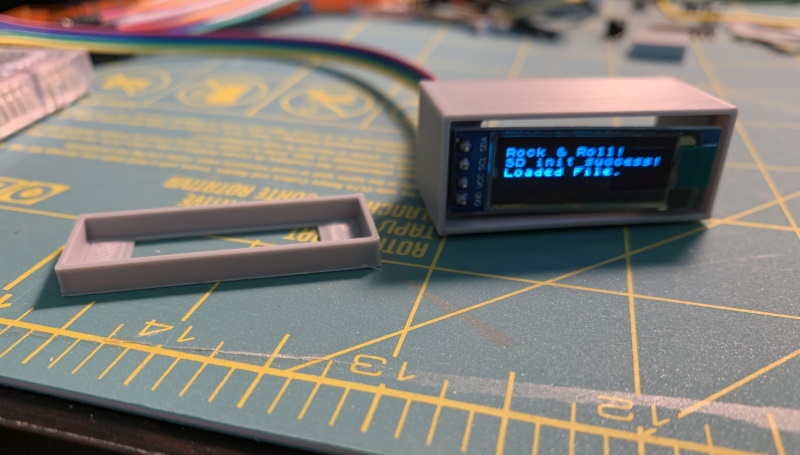
On the back of the display I soldered a standard breadboard friendly header. This allows me to plug this directly into a breadboard if I wanted to experiment with it. This got me thinking. What if I could make some sort of socket that allowed me to plug the display in and remove it as needed? Then it hit me. I could use female headers like on a Arudino board. To keep it simple, I used premade female dupont wires. All you have to do is push the four dupont connectors from the back of the holder. I modeled the rectangular hole with a fairly tight tolerance. This forms a friction fit. Then you can install the display from the front. Slide the bezel into the front of the holder and you're done.
If you would like to download and print this model for yourself then click the link below. I'm looking forward to doing more projects like this. Keep an eye on this space!
I posted this video on Youtube a few weeks ago. I haven't had much of a chance to repost it on here. But if you're looking to get into surface mount soldering this is the kit for you. I'm a absolute newbie. Well let's just say I went through two kits to get it right. Enjoy!