Matching Quiz Web App


About The Script

I've been working on putting together a matching quiz app as part of an upcoming feature on my tv and movie car blog. But I wanted to make it reusable by myself and others. How did I pull that off? Well with the power of JSON! Wow, that really does sound like something He-man would say. But anyways. I wrote a basic script to build the quiz using some classes and objects. Then added in some objects to validate and score the quiz. To make it reusable I added in a parameter in the query string to allow the user to pass in a URL for the JSON configuration file (details below). When the parameter "source" is passed the script will load the JSON configuration file from that path and setup the quiz.

Build Your Own Quiz

Building your own quiz is pretty simple. All you need to do is create a JSON configuration file using the template below. Upload the completed JSON configuration file to a public site that allows CORS. I used npoint.io. If using npoint.io, once you've upload the file they'll issue you a special URL. Save this address. Now for the magic. Copy the following URL and replace "" with the special address you saved earlier. Open up the new address in your browser and the quiz will be live. You can share this link with anyone. Or in my case I'll be embedding it in my blog in an iframe like above.

Quiz URL: https://mattkendrick.com/matching-quiz/index.html?source=

Example: https://mattkendrick.com/matching-quiz/index.html?source=https://api.npoint.io/0d89ecf06270394238aa

JSON Configuration Template
{
    "title": "Adam Sandler Characters",
    "instructions": "Match The Character To The Movie.",
    "questions": [
        {
            "left": "Billy",
            "right": "Billy Madison"
        },
        {
            "left": "Happy",
            "right": "Happy Gilmore"
        },
        {
            "left": "Sonny",
            "right": "Big Daddy"
        },
        {
            "left": "Bobby",
            "right": "Water Boy"
        },
        {
            "left": "Robbie",
            "right": "The Wedding Singer"
        },
        {
            "left": "Lenny",
            "right": "Group Ups"
        }
    ]
}
Disclaimer

Feel free to copy and/or use this code at your own risk. We are not responsible for damages that may occur.

  0

Categories: Portfolio

Tags: apps, javascript
Quick Tips - Getting Dashy Up On Portainer


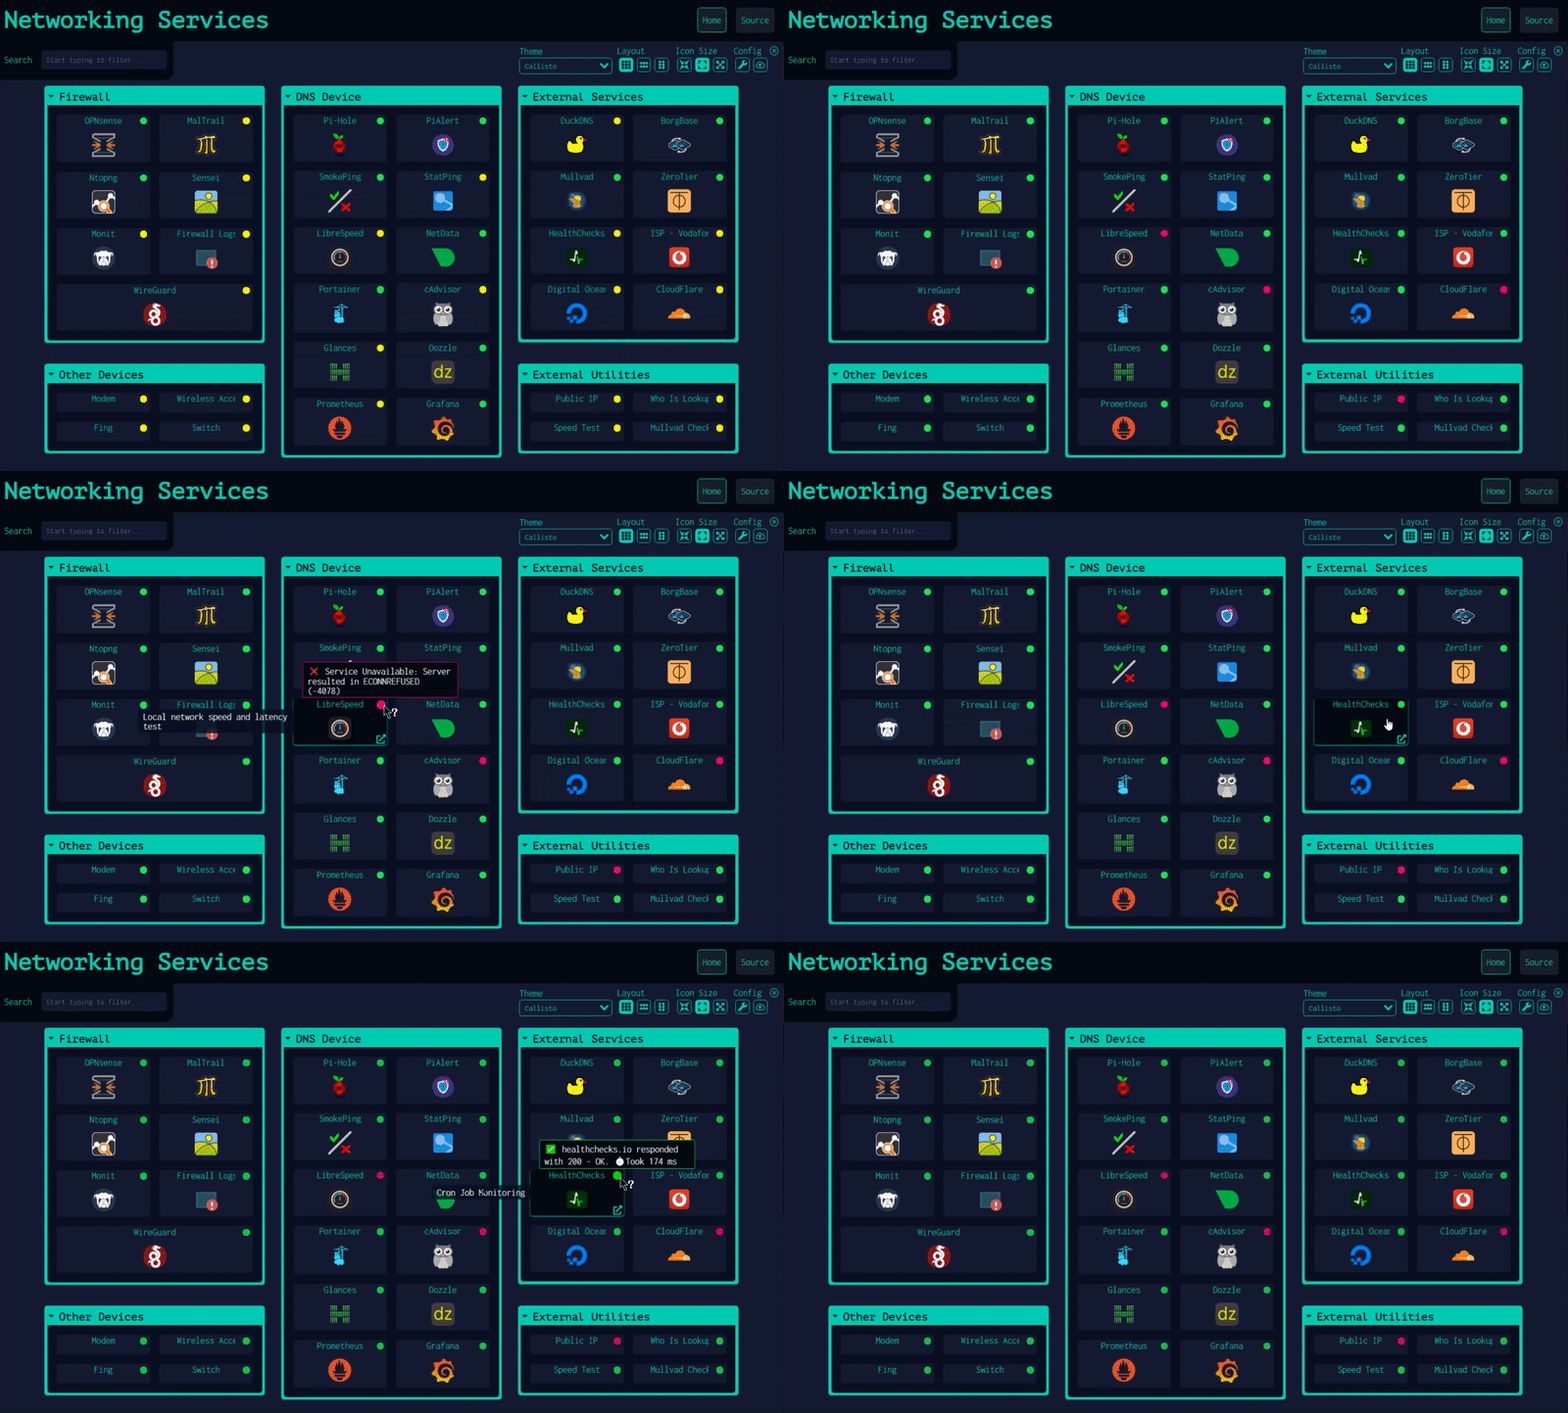
Dashy is a wonderful app for keeping up with all the goodness on your home lab. You can use it to keep track of all your web services and interfaces. It will even ping your services for you and let you know their status. However, it may not be the easiest thing to get going. So I thought I would share how I deployed Dashy in my home lab environment. I like to use Portainer to manage my docker images and containers. With these easy to follow steps you can have Dashy running using Portainer in no time flat.

Step 1: Grab Dashy Docker Compose

Copy The Following

---
version: "3.8"
services:
  dashy:
    # To build from source, replace 'image: lissy93/dashy' with 'build: .'
    # build: .
    image: lissy93/dashy
    container_name: Dashy
    # Pass in your config file below, by specifying the path on your host machine
    # volumes:
      # - /root/my-config.yml:/app/public/conf.yml
    ports:
      - 4000:80
    # Set any environmental variables
    environment:
      - NODE_ENV=production
    # Specify your user ID and group ID. You can find this by running `id -u` and `id -g`
    #  - UID=1000
    #  - GID=1000
    # Specify restart policy
    restart: unless-stopped
    # Configure healthchecks
    healthcheck:
      test: ['CMD', 'node', '/app/services/healthcheck']
      interval: 1m30s
      timeout: 10s
      retries: 3
      start_period: 40s

Step 2: Creating New Stack

  1. Navigate to Stacks
  2. Click the "Add Stack" button (upper right corner)
  3. Give your Stack a name. I called mine "Dashy"
  4. Paste the compose from above into the Web Editor
  5. Modify port configuration if needed. Defaults to port 4000
  6. Scroll down and click "Deploy Stack"

Dashy will finish the rest. After that you should be able to access it on Port 4000 on the same server as your Portainer instance or whatever port you've configured. That was easy wasn't it? As always, use this at your own risk, we are not responsible for damages. Enjoy and stay safe!

Reference: Dashy Deployment Guide
  0

Categories: Quick Tips

Tags: development, apps, docker, portainer