Quick Tips - Getting Dashy Up On Portainer
Monday, September 18th 2023

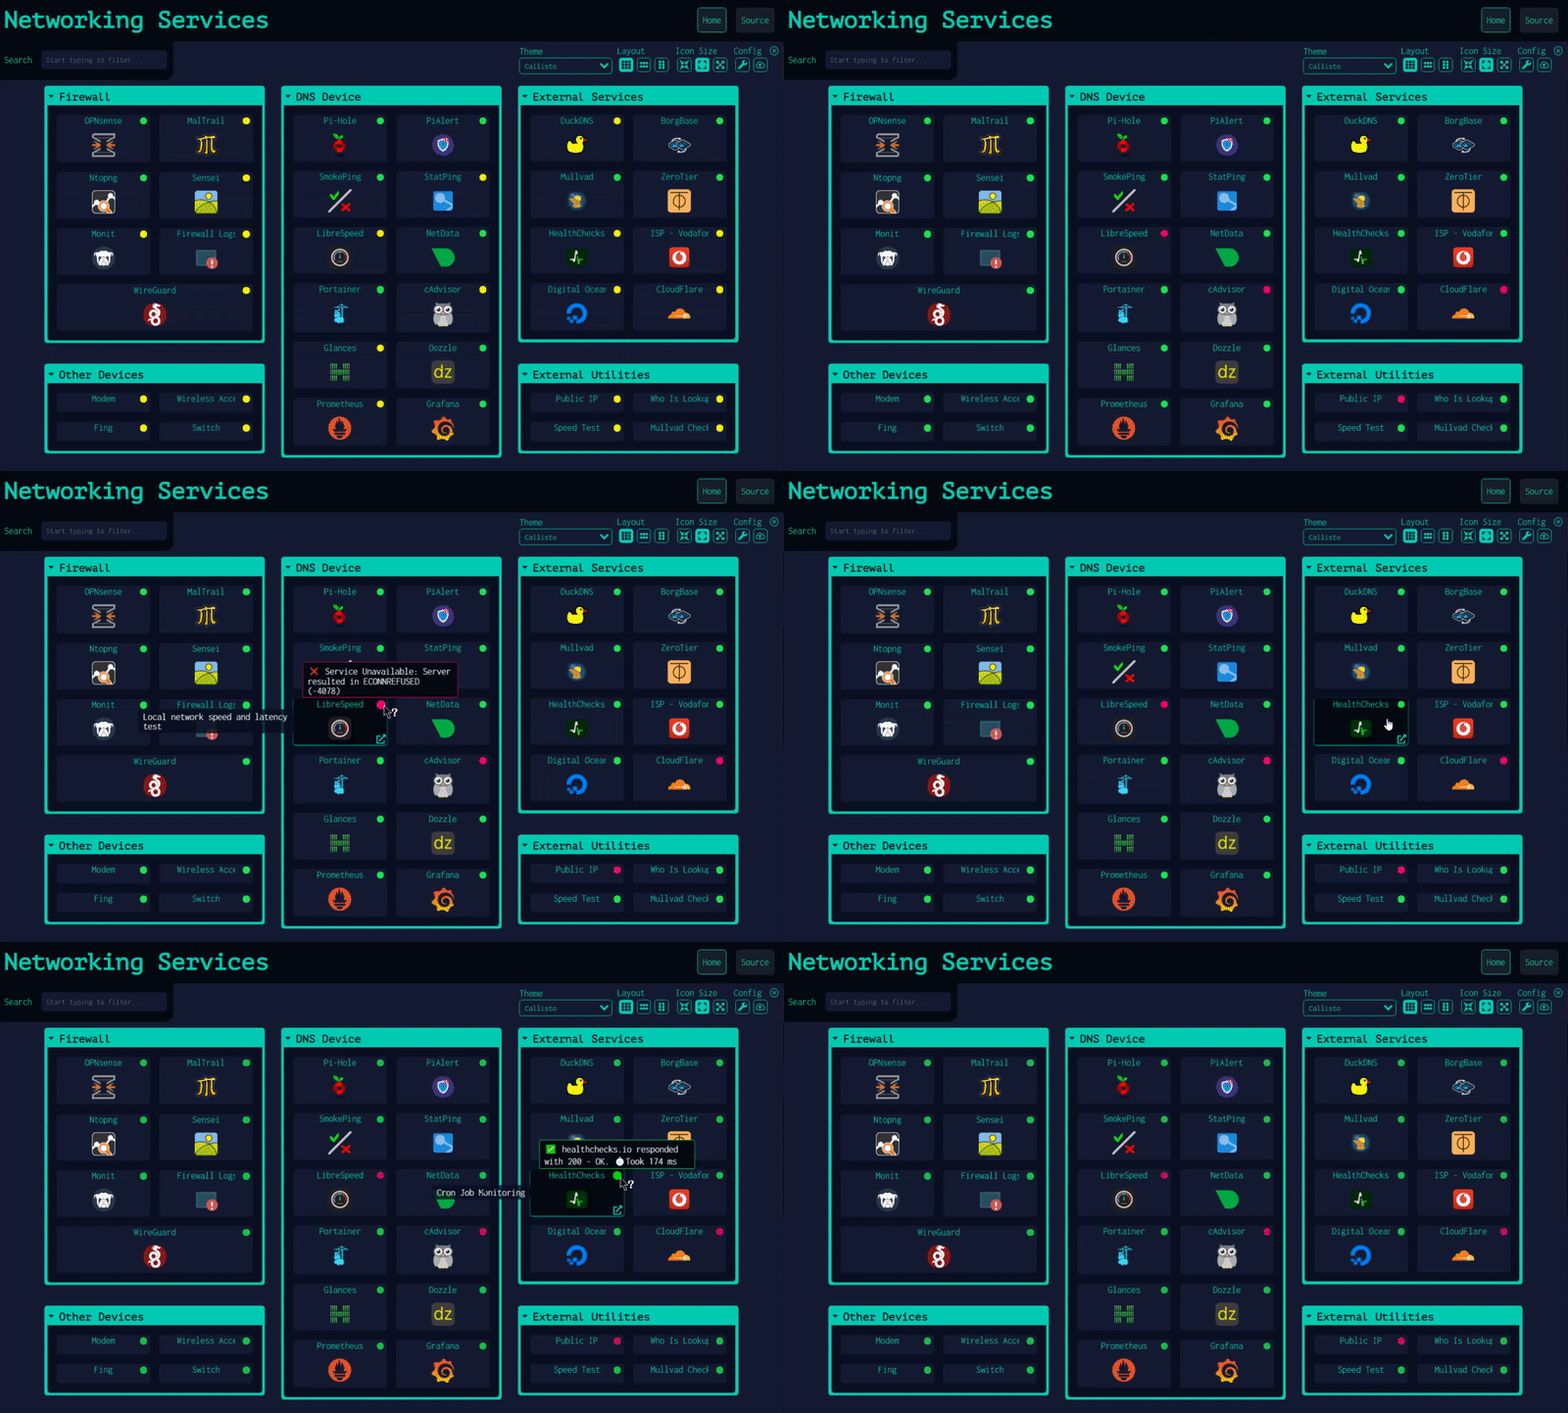
Dashy is a wonderful app for keeping up with all the goodness on your home lab. You can use it to keep track of all your web services and interfaces. It will even ping your services for you and let you know their status. However, it may not be the easiest thing to get going. So I thought I would share how I deployed Dashy in my home lab environment. I like to use Portainer to manage my docker images and containers. With these easy to follow steps you can have Dashy running using Portainer in no time flat.
Step 1: Grab Dashy Docker Compose
Copy The Following
---
version: "3.8"
services:
  dashy:
    # To build from source, replace 'image: lissy93/dashy' with 'build: .'
    # build: .
    image: lissy93/dashy
    container_name: Dashy
    # Pass in your config file below, by specifying the path on your host machine
    # volumes:
      # - /root/my-config.yml:/app/public/conf.yml
    ports:
      - 4000:80
    # Set any environmental variables
    environment:
      - NODE_ENV=production
    # Specify your user ID and group ID. You can find this by running `id -u` and `id -g`
    #  - UID=1000
    #  - GID=1000
    # Specify restart policy
    restart: unless-stopped
    # Configure healthchecks
    healthcheck:
      test: ['CMD', 'node', '/app/services/healthcheck']
      interval: 1m30s
      timeout: 10s
      retries: 3
      start_period: 40s
Step 2: Creating New Stack
- Navigate to Stacks
- Click the "Add Stack" button (upper right corner)
- Give your Stack a name. I called mine "Dashy"
- Paste the compose from above into the Web Editor
- Modify port configuration if needed. Defaults to port 4000
- Scroll down and click "Deploy Stack"
Dashy will finish the rest. After that you should be able to access it on Port 4000 on the same server as your Portainer instance or whatever port you've configured. That was easy wasn't it? As always, use this at your own risk, we are not responsible for damages. Enjoy and stay safe!
Reference: Dashy Deployment GuideCategories: Quick Tips
Tags: development, apps, docker, portainer