This year's Steam NextFest is going on. I usually don't post gaming content here on my blog. But I figured why not share a fun game every now and then? The game I came across was called Chipmatic. It's a robot digging game. Reminds me a lot of Motherload and Steam World Dig with a hint of Factorio. But unlike Motherload, you don't just die because you ran out of fuel. You can still get back to the surface. But like Motherload you're trying to get as deep as you can. Collecting resources to upgrade your robot. Like Steam World Dig there's buildings to craft upgrades and produce energy. As you can tell I'm very excited. The game hasn't been released yet. But the demo is available. It's very much a work in progress. But it's fun. I couldn't get my Xbox controller working with the game. But I was able to put together a JoyToKey profile (link below). If you're curious but don't want to download the demo, check out @ambiguousamphibianvods video below.
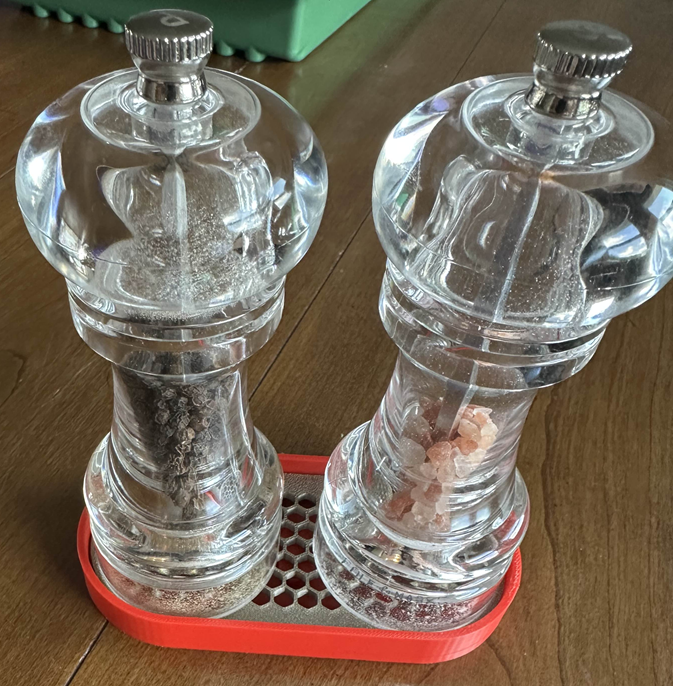
Looking for a easy way to store your salt and pepper grinders with less mess? This salt and pepper grinder tray with magnetic grate may be what you need! The grate attaches with magnets and allows for easy cleaning. Prints on two plates. First plate for the grate insert and the second for the base. When printing the base, the profile pauses to allow time to insert the base magnets. Requires 4 x 8mm by 2.5mm magnets. Looking to print your own? Check out my creation on Maker World!
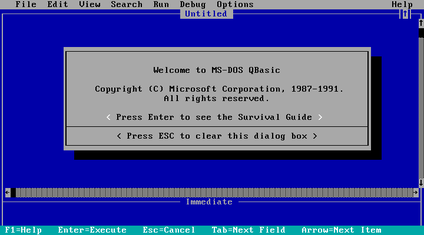
When I was a kid, I spent many hours trying to program stuff in QBasic. I was able to do a few basic things with graphics, drawing shapes, etc. Often I look back at these fond memories. But I can't help but think: "If I could teach my kid self one thing about programming what would would it be?" After much thought, I landed on a few things. But I think I would have made use of data files the most. I wanted to build programs to help my brother run his automotive shop or manage our Boy Scout's advancement records. So I thought, why not explore this concept more and see what was possible. So young Matt, here's the one lesson I pass on to you.
There are several ways to write data to files in QBasic. But I think the most useful mode for database like functions is the "RANDOM". With this mode you can retrieve records by "record number".
TYPE Address
	id AS INTEGER
	status AS STRING * 1 'A = ACTIVE, D = DELETED
	contact_name AS STRING * 30
	address1 AS STRING * 30
	address2 AS STRING * 30
	city AS STRING * 30
	state AS STRING * 2
	zip AS STRING * 5
END TYPE

DECLARE SUB PrintAddress (record AS Address)
DECLARE SUB InputAddress (record AS Address)

CLS

dim path as string
path = "projects\address-book\ADDRESS.DAT"

DIM record AS Address
DIM prompt AS STRING * 1
prompt = "Y"

DO WHILE UCASE$(prompt) = "Y"
	PRINT "Adding New Record"

	CALL InputAddress(record)

	OPEN path FOR RANDOM AS #1 LEN = LEN(record)
		DIM count AS INTEGER
		count = LOF(1) / LEN(record)

		record.status = "A"
		record.ID = (count+1)

		PUT #1, (count+1), record

		PRINT "Record Added."
	CLOSE #1

	INPUT "Add Another Record? (Y/N)"; prompt
LOOP

END

SUB PrintAddress (record AS Address)
	PRINT "ID:       " + LTRIM$(STR$(record.id))
	PRINT "Contact:  " + record.contact_name
	PRINT "Address1: " + record.address1
	PRINT "Address2: " + record.address2
	PRINT "State:    " + record.state
	PRINT "City:     " + record.city
	PRINT "ZIP:      " + record.zip
	PRINT STRING$(25, "-") + " "
END SUB

SUB InputAddress (record AS Address)
	INPUT "Contact:  ", record.contact_name
	INPUT "Address1: ", record.address1
	INPUT "Address2: ", record.address2
	INPUT "City:     ", record.city
	INPUT "State:    ", record.state
	INPUT "ZIP:      ", record.zip
	PRINT STRING$(25, "-") + " "
END SUB
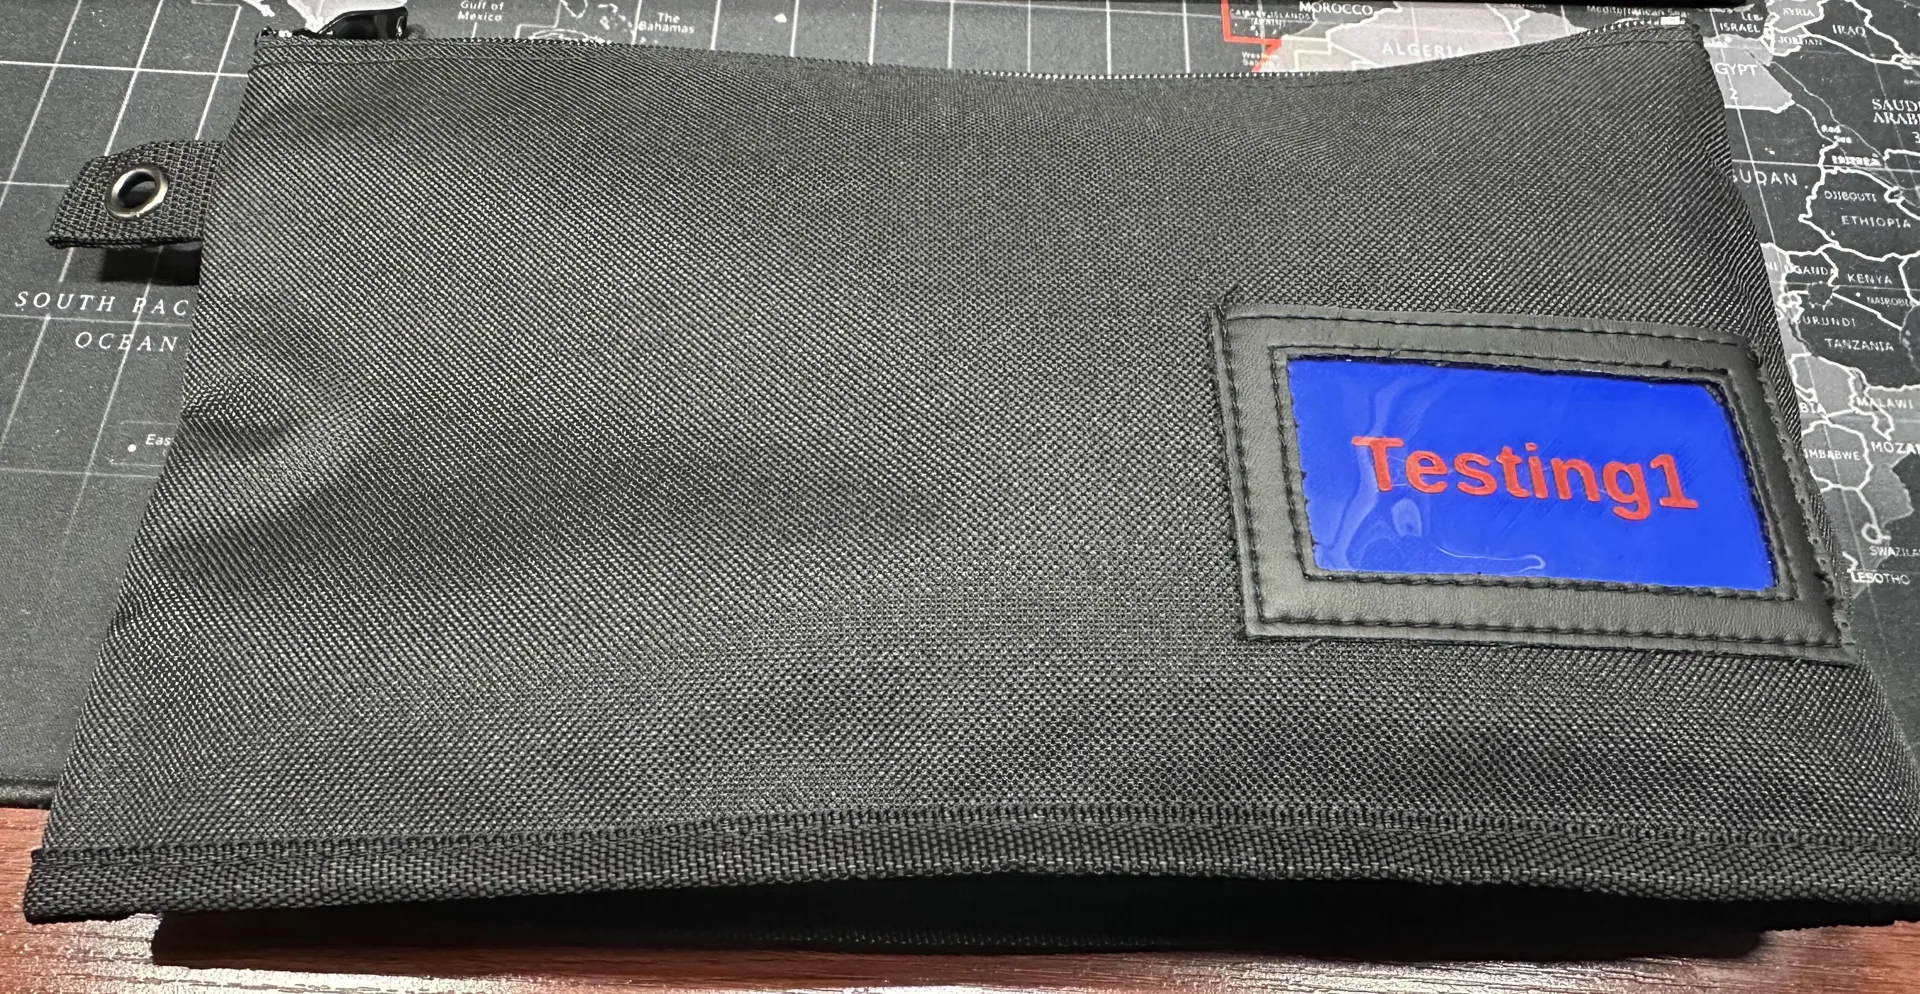
I have a lot of small cables, sorting and organizing them has been a nightmare. I stumbled across a solution, a 12in Yukon Zipper Bag at Harbor Freight. The bag was perfect for my needs. It includes a grommeted hang tag and vinyl label window. I designed a model for to make labels for the bags. I now have all my cables now organized in bags, hanging up in our office space. I decided to take my work a step further and share with the community a parametric generator these tags. For those who may not be aware of parametric generators. They're 3D models that allow you to customize them without needing to know how to use a CAD program. You can find my creation over at Maker World.
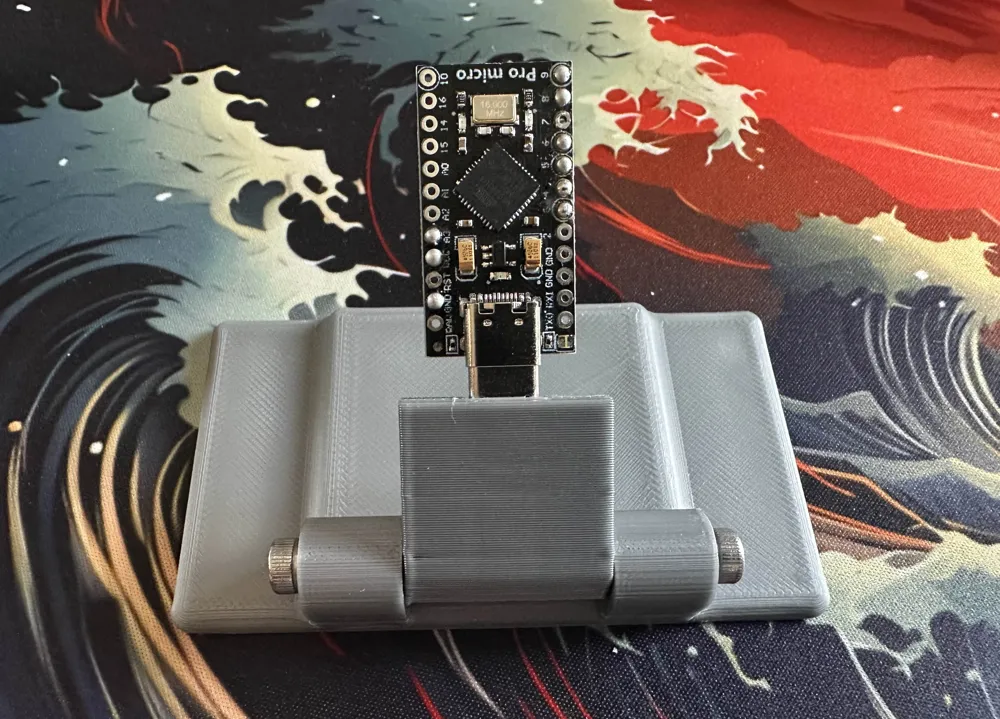
Have you ever struggled with holding development boards while trying to soldering wires to them? I created a simple fixture that helps solve this problem. Plug in your USB C development board into the fixture you're working on and let the tool do the holding. The side ears allow for clamping the fixture to a work table or surface. Note this model does require additional hardware (see bill of materials) and assembly. Once assembled, the connector will need to be glued in with CA glue. You can find my creation over at: Maker World. Enjoy!